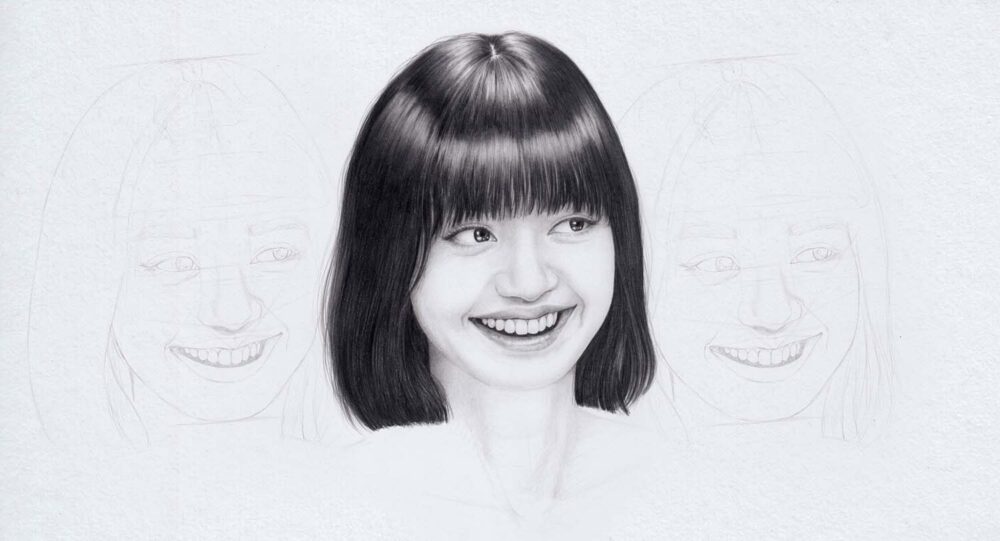
Learning to Draw Portraits with Realistic Details – 11 Tips For Beginners
Creating lifelike portraits can feel like trying to train a cat to fetch. But good news—getting realistic results is within reach. Whether you’re sketching a friend’s face or immortalizing your favorite pet, learning the techniques behind drawing portraits with detail can be a satisfying journey.
Key Points
- Focus on the basics of proportion.
- Understand facial structure.
- Observe light and shadow.
- Practice different textures.
- Embrace patience for realistic details.
1. Proportion Basics: Keep It Real
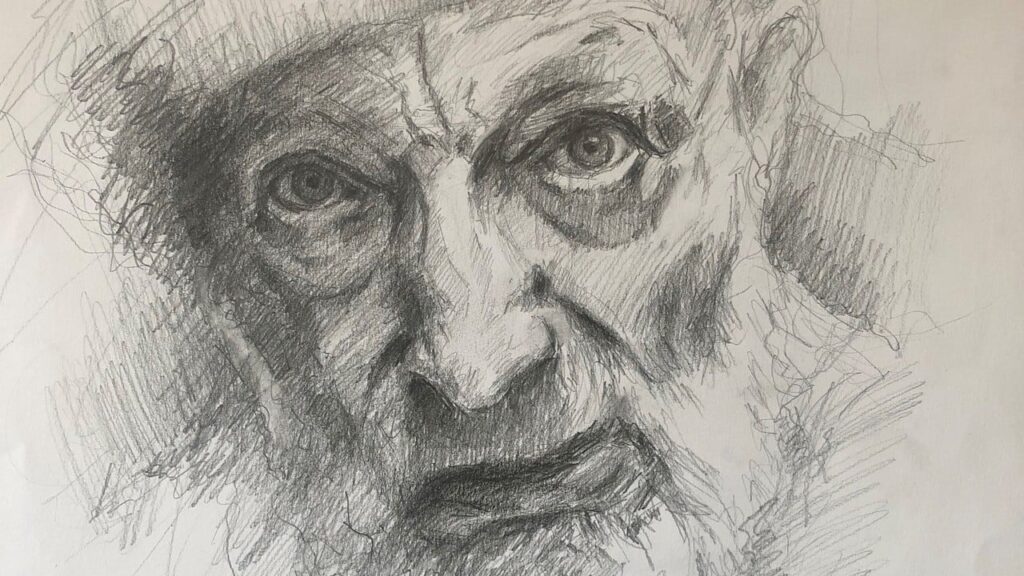
Proportion can either make or break the look of a portrait. Imagine trying to draw a friend’s face but ending up with eyes that look like they belong to a Picasso painting. So, always start by mapping out the big features. Light guidelines for the eyes, nose, and mouth will create a balanced look from the start. By nailing proportion first, you’re halfway to a realistic portrait.
2. Facial Structure: Break It Down
Think of a face as a puzzle of basic shapes. The head is more than an oval; it’s a mix of smaller structures. Use circles, lines, and triangles to mark key areas, then connect everything for a more cohesive structure. Once you’ve outlined the jaw, cheekbones, and brow, it’s easier to add the details. By focusing on structure, you’ll avoid lopsided results.
3. Light and Shadow: The Game-Changer
To add depth, you’ll need to play with light and shadow. Think of them as your secret tools for making a face pop. A well-placed shadow can give a cheekbone its sharpness or add mystery to a look. To get started, try simple shading exercises. Study how light falls on a ball or cube to get the basics of shadow. For portraits, remember that shadows aren’t just dark blobs—they need to follow the face’s curves to look real.
For those looking to take things further, read more on Families Portrait, where they offer custom sketches based on your unique style and needs. They can even help turn your photo into a detailed portrait.
4. Mastering Textures: Skin, Hair, and Fabric
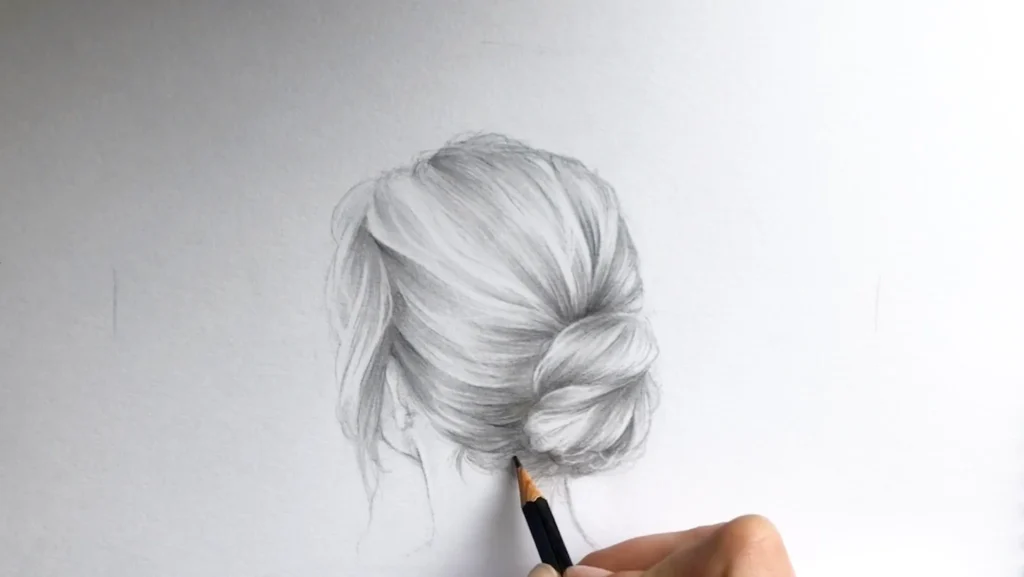
Source: loeilart.com
Realism comes alive in textures. Try different pencils to capture textures, from the soft look of skin to the sleek shine of hair. Smooth blending works for skin tones, while sharper strokes give hair its depth. Draw hair in sections, using light strokes for layers. Think about texture as the final touch for your portrait—it’s where real depth starts.
5. Eyes: The Gateway to Realism
People say eyes are the windows to the soul, and for good reason. A portrait without lively eyes might as well be lifeless. Start with the overall eye shape, making sure the corners are accurate. Add subtle details like the tear duct and lash line to avoid an “empty stare.” When shading the iris, keep the outer edge darker, while the middle part can have lighter flecks for depth.
6. Capturing Expressions: Small Changes, Big Impact
Expressions can make or break the impact of your portrait. A slight arch in an eyebrow or an extra line around the mouth can mean the difference between a blank stare and a warm smile. Try different angles of the same face to capture expressions from different views. Simple details like a faint crease on the forehead or a dimple can bring a face to life in the most understated way.
7. Patience: The Unseen Skill
Source: skyryedesign.com
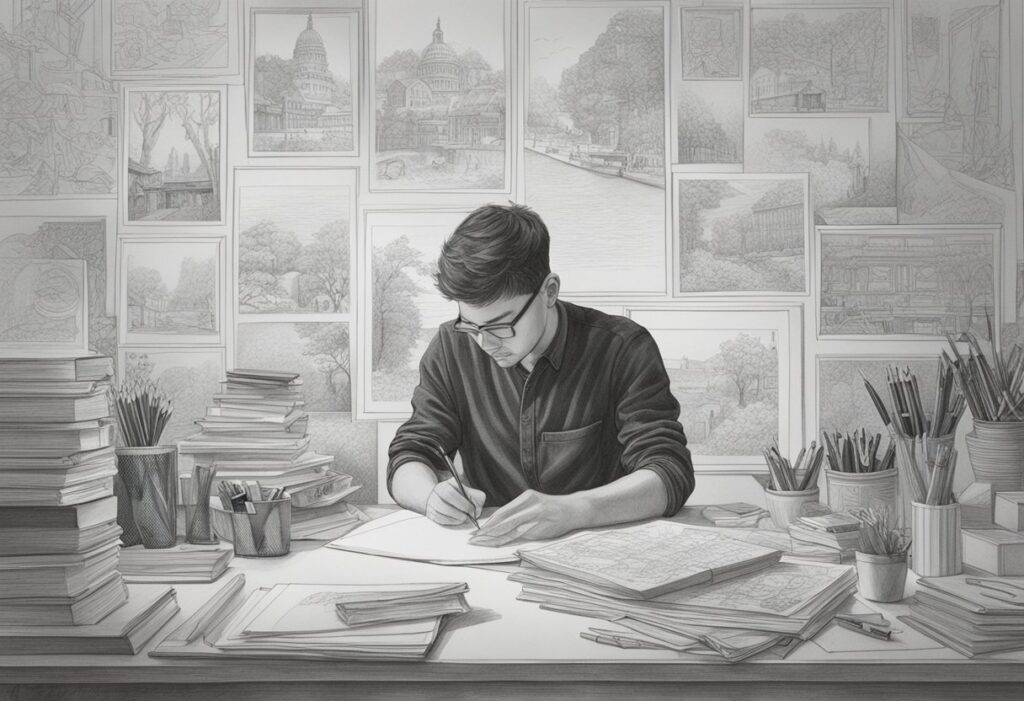
Rushing is your enemy in realistic portrait art. If you’re impatient, the details will slip. Patience helps keep every line intentional, every shade carefully applied. Take breaks if needed to keep fresh eyes on your work. The result? A portrait with layers, depth, and detail that shows you’ve truly paid attention to every feature.
8. Tools of the Trade: Choose Wisely
Your choice of pencils, paper, and erasers will impact the final look. A softer pencil works for shadows, while harder leads are great for precision. Blending stumps can soften edges. High-quality paper won’t smudge easily and allows more control. Experiment with different tools until you find what suits your style and technique.
9. Backgrounds Matter Too
Neglecting the background can leave a portrait looking unfinished. Even a simple gradient or light shading can add context and depth. Focus on the area around the head, making sure it complements rather than overshadows your main focus. A thoughtful background enhances the overall piece and grounds the face in a more realistic setting.
10. Practice with Photos First
Photographs make excellent practice tools. Start by sketching family photos, focusing on a few facial details at a time. Practice shadows, highlights, and textures to get a feel for each unique feature. Once you’re confident, move on to live models.
11. Lips and Mouth: Capture Expression and Depth
Lips add character to a portrait, so get familiar with their shape and details. Start with the overall shape of the mouth—avoid rigid, straight lines, as lips have natural curves. Notice how the top lip usually has a sharper line, while the bottom lip is softer. Add subtle shading to create volume, focusing on the center of the bottom lip to make it look fuller. Don’t forget the small creases and highlights that make lips look real, especially in a smile or pout.
Pro Tips for Mastering Realistic Portraits
- Use Layers: Build up details gradually. Start with light outlines, add structure, then shade and refine. Layering creates a sense of depth and control over details.
- Don’t Overdo the Details: Sometimes, less is more. Focus detail on key areas like the eyes, lips, and nose while leaving other parts softer. This draws attention to the most expressive parts without overcrowding the portrait.
- Rotate Your Paper: For tricky angles, turn the paper to maintain control over lines. This simple move can make curved lines and shading smoother.
- Take Breaks to Refresh Your Eyes: When working on fine details, your eyes may miss small mistakes. Taking a short break will help you spot any adjustments needed for balance and proportion.
- Experiment with Blending Tools: A blending stump or even a cotton swab can smooth shadows without smudging too much. Experiment to find the right balance, especially around delicate areas like the eyes and mouth.
FAQs
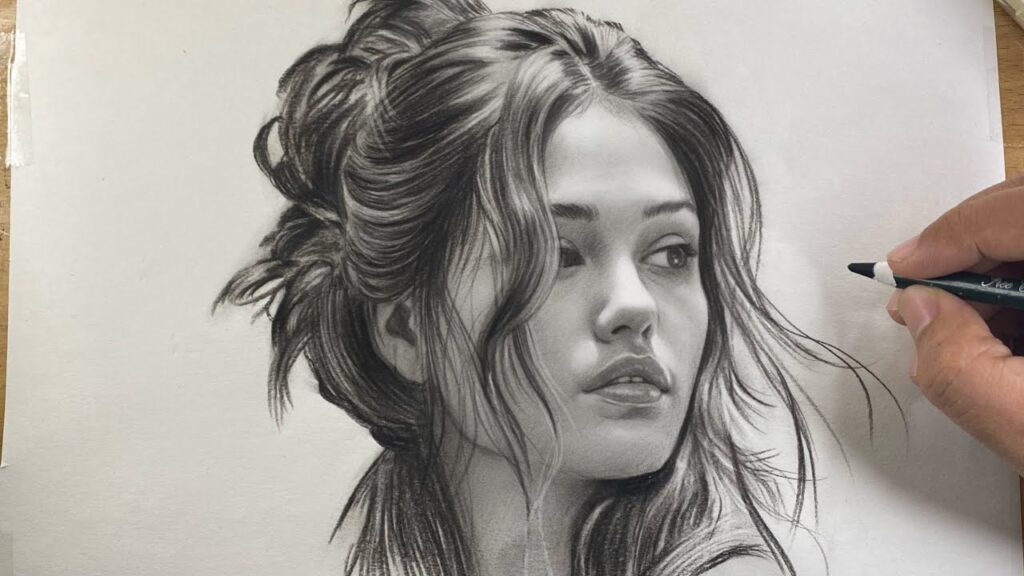
Source: m.youtube.com
1. How can I make a portrait look less flat?
Focus on shadows and highlights. Adding subtle light and dark areas around features creates depth.
2. How long does it take to draw a detailed portrait?
It depends on your pace and level of detail. For beginners, expect a few hours per portrait.
3. What’s the best pencil for realistic portraits?
A mix of 2B for light lines and 6B for shading gives great control over depth.
4. How do I avoid smudging?
Use a piece of paper under your hand as you draw. Also, use a fixative spray to protect your final piece.
5. Do I need a reference photo?
Yes, especially when starting out. A clear photo gives you proportions, shadows, and other details to work with.
Portrait art is all about patience, observation, and a lot of practice. Each tip here is a small step toward realistic detail. The journey may take time, but the results are well worth it.

