How to Clean and Restore Reclaimed Tiles for Your Home
Reclaimed tiles bring a unique charm and history to your home. They offer an aesthetic that new ones often can’t match. However, cleaning and restoring these can be a daunting task. In this guide, we will walk you through the process, making it simple and enjoyable.
Whether you are a DIY enthusiast or a homeowner looking to add a touch of vintage elegance to your space, this comprehensive guide will equip you with all you need to know.
Preparing for the Restoration

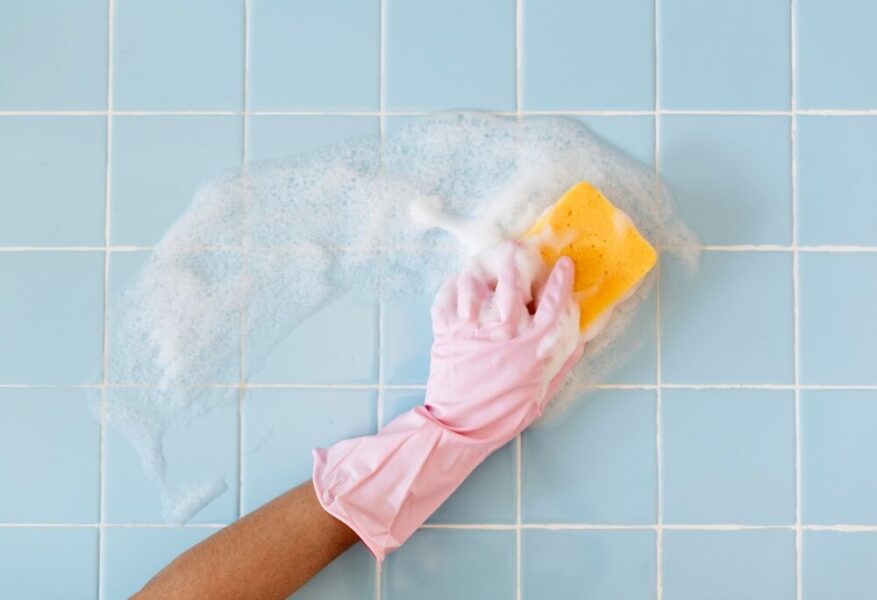
Source: freepik.com
Before you start, examine the reclaimed tiles for any cracks, chips, or severe damage. Decide if you want to keep these imperfections for their rustic charm or if you prefer to repair them.
Gathering Supplies
You will need:
- Soft bristle brush
- Mild detergent
- White vinegar
- Baking soda
- Sponges
- Clean water
- Sealant (if needed)
- Grout (for repairs)
- Protective gear (gloves, mask)
Setting Up a Cleaning Space
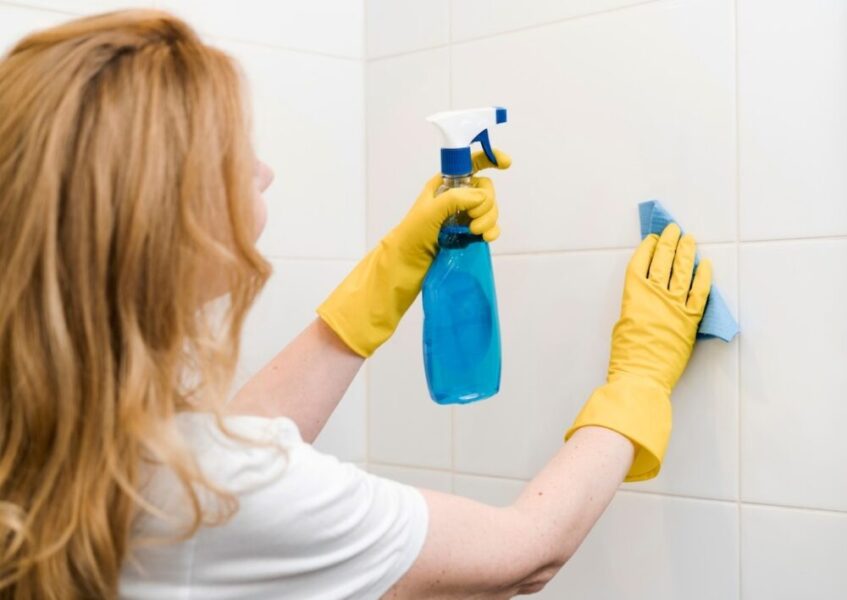
Source: freepik.com
Choose a well-ventilated area for cleaning, ideally outdoors. Lay down a tarp or old towels to protect surfaces from cleaning agents and debris.
Cleaning the Tiles
- Dry Cleaning: Begin by brushing off loose dirt and debris with a soft bristle brush. This step helps to avoid scratching the tiles during wet cleaning.
- Wet Cleaning: Prepare a mixture of mild detergent and warm water. Gently scrub the tiles with a sponge, focusing on stained areas. Avoid using harsh chemicals that can damage the tiles.
- Deep Cleaning with Vinegar: For stubborn stains, use a solution of equal parts white vinegar and water. Apply it to the stained areas and let it sit for about 10-15 minutes. Scrub gently with a sponge.
- Baking Soda Paste: Create a paste with baking soda and water for deep-set grime. Apply the paste to the tiles and let it sit for 10 minutes before scrubbing with a soft brush.
- Rinse Thoroughly: Rinse the tiles with clean water to remove any cleaning residue. Allow them to dry completely before proceeding to the next steps.
Repairing and Restoring
- Filling Cracks and Chips: If you prefer a more polished look, use grout or tile filler to repair any cracks and chips. Follow the product instructions for the best results.
- Polishing: For a glossy finish, you can polish the tiles using a specialized tile polish. Apply the polish according to the manufacturer’s instructions.
- Sealing the Tiles: To protect your reclaimed tiles from future damage and stains, apply a sealant. Choose a sealant suitable for the type of tile you have. Apply it evenly and let it dry as per the product instructions.
Common Challenges and Solutions
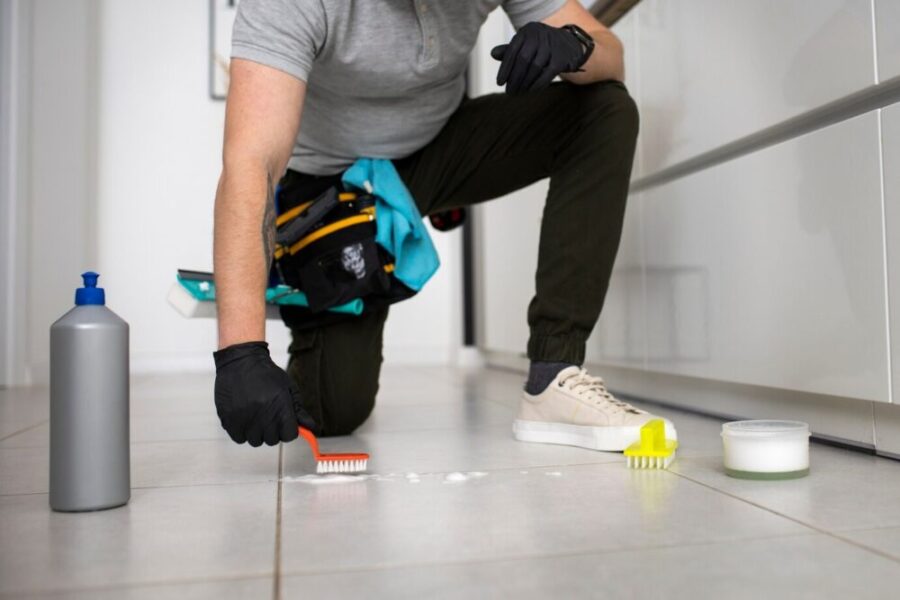
Source: freepik.com
- Handling Fragile Tiles: Older tiles can be fragile. Handle them with care and use appropriate adhesives and grouts to secure them in place.
- Matching Patterns and Colors: Finding matching patterns and colors can be challenging. Embrace the mix-and-match look or source tiles from specialty stores that deal in reclaimed materials.
- Dealing with Odors: Sometimes, reclaimed tiles can carry odors from their previous locations. Cleaning thoroughly with vinegar and baking soda should help eliminate these smells.
The Bottom Line
Restoring reclaimed tiles can be a rewarding project that adds beauty and character to your home. By following these steps, you can transform old, forgotten tiles into stunning focal points. Whether you’re a seasoned DIYer or a beginner, this guide equips you with the knowledge and confidence to take on the task.